7 Unspoken Rules for Hanging Framed Pictures
Have you heard the story of the little boy who complained that his mom gave him too many green beans? When she told him he could just eat half, he bit into half of each green bean, leaving the remnants on his plate.
Often we assume people know things that they don’t. Not because the process is too complex, but simply because no one ever told them explicitly what to do. This certainly applies to hanging framed pictures. Some (maybe all) of these guidelines will be perfectly obvious to you. Others may be new information.
Let’s give a voice to some of these unspoken rules, shall we?
1. Prioritize the Process
Choose your frame style first, art location second and arrangement (if multiple frames) third. How do you choose your frame style? That depends on the look you’re going for, and it probably depends on your interior design preference. If you can hone in on the vibe you lean toward—i.e., Coastal, Contemporary, Modern Farmhouse or Mid-Century Modern—then it’s easy to choose frames that suit the ambience you’re creating.
2. Not Every Artwork Needs a Mat Board
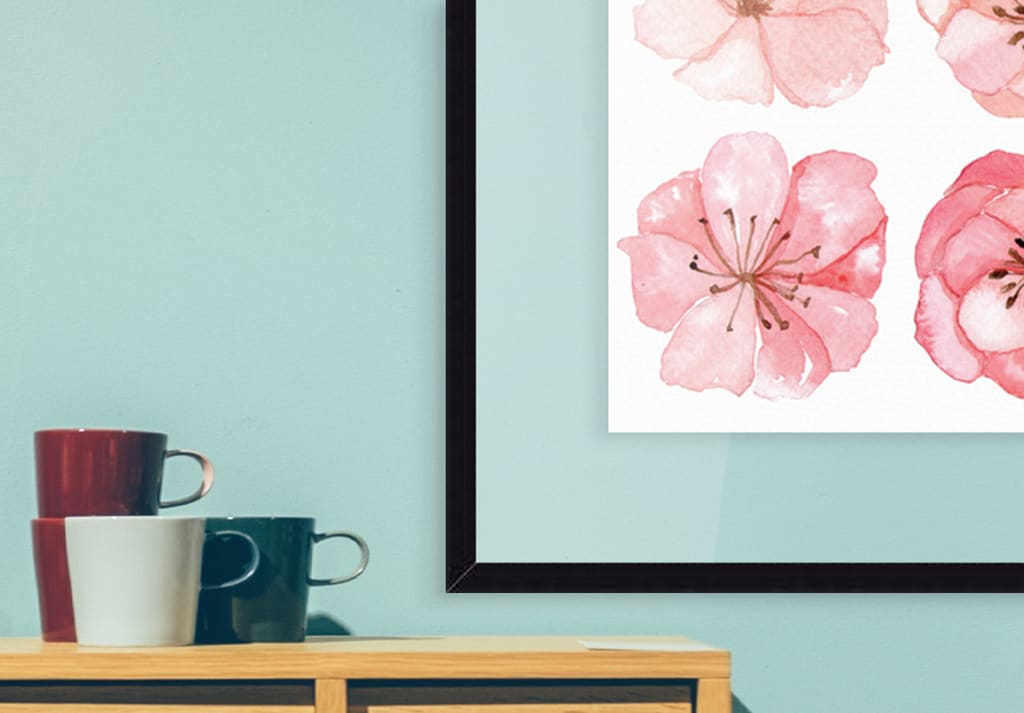
Mat boards are a great way to enhance a painting or a photograph, and they give an extra presence to smaller works. However, they aren’t a must in every situation. For example, you can go sans mat with watercolors and artwork on textured paper. Because of their large physical presence, framing movie or concert posters are also good to go without needing a mat.

3. Mix Wood and Metal Frames—but Unify
Wood tends to be traditional, while metal has a modern feel. Can you display both in the same room? Yes! But I do suggest unifying them in terms of color or texture. For example, using a textured metal frame like our Profile 99 in Satin Black with our textured wood frame Profile 543 in Black Dune. For more on wood vs. metal, see our article on How to Choose Between a Wood vs Metal Frame.

4. Symmetry Isn’t the Only Way
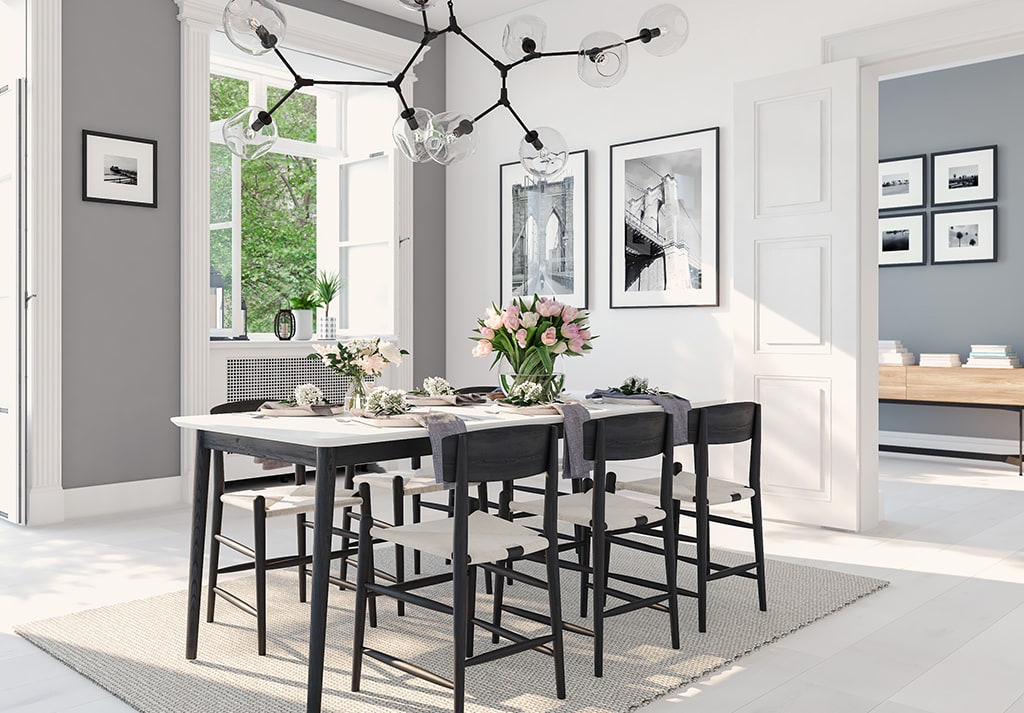
If you’re displaying a group of paintings or photos on a wall, a symmetrical design is the usual format. For example, six frames that are the same size might be placed three-by-three, evenly spaced. Using an odd number of frames creates asymmetry for a more casual, relaxed look. Five frames of varying sizes placed in a staggered arrangement would be an example of asymmetry.
5. Venture into Unexpected Rooms
Like your closet. After all, we step into them every morning to get dressed. Looking at a piece of art, particularly something inspirational, is a great way to start the day. We know of one boutique hotel company that hired a local artist to create hand-drawn birds and palm leaves in the closets of their Miami property. What a lovely surprise for guests! Bathrooms are another room we enter every day. Because of the high humidity and changing temperatures in bathrooms, metal frames or art will be a better option than wood. In fact, we have a special list of tips for hanging art in bathrooms.

6. Consider the Spacing Between Frames
I’ve seen groupings spaced as close together as 1/32” and as spread apart as several feet. Very tight and wide-spaced groupings can work in some applications like tiny rooms or giant walls. But the standard is around two to four inches, with six inches being the maximum to keep the viewer’s focus. To dive deeper into this topic, see our post on “Creating an Art Gallery—at Home.” Of course, rules can be broken. It’s just good to know the rules before we break them.

7. Straighten Up
I’m easy-going by nature, but I have to admit that crooked pictures drive me slightly crazy. It’s all I can do to keep from straightening the offender if I see a tilted picture at a restaurant, or heaven forbid, a friend’s house. Our post on How to Keep Picture Frames Straight addresses this very issue, with clever tips like using two hooks rather than just one.
A Few Bonus Notes
• Glazing is an overlooked, but critically important, part of framing.
• Cardboard does not make good backing for photos or art, and will accelerate your art’s decay. Choose a specific backing material such as acid-free PaperMat Backing which is ideal for artwork protection and support.
• Don’t hang your picture on a nail hammered into the wall. Use quality hanging hardware with wire.

• Finally, if you’d like to go a bit deeper, check out these advanced framing tricks which give you insights into using spacers, additional backing for Museum-worthy presentations, and creating special effects with floats and glazing.
Now that you’ve got the lowdown on hanging your framed pictures, you’re all set to fill a wall with something beautiful. If you have any questions, we’re always here to help.
Related Read: How to Hang a Picture