Framing Large Canvases in a Wood Floater Frame
Floater frames are one of our top-selling items for artists looking for a way to give their stretched canvases a more professional look. These frames are named for the illusion they create: once set in the frame, the artwork “floats” within it, providing a striking, streamlined, and altogether elegant appearance. With floater frames, the artwork’s edges are not covered and the entire front surface of the piece is visible.
We offer both metal and hand-assembled wood floating canvas floater frames in a variety of colors and styles. Today’s post focuses on how to frame a large (over 20” x 24”) gallery-wrapped canvas in one of our wood floater frames.
When you purchase a wood floater frame from Frame Destination, this is what you will receive in the floater frame package:
- The Floater Frame
- 12 Offset Clips and Screws (frames larger than 20" x 24") or 6 Offset Clips and Screws (frames 20" x 24" and smaller)
- One Hanging kit, which includes wire, screws, screw hole hangers and wall bumpers
- Floater Frame Instructions
STEP 1 – Position the canvas. Place your stretched canvas face down on a flat surface, a dining room table works well. If your canvas is shorter than the rabbet of the floater frame, place it face down on something that will raise it enough without obstructing the floater frame.
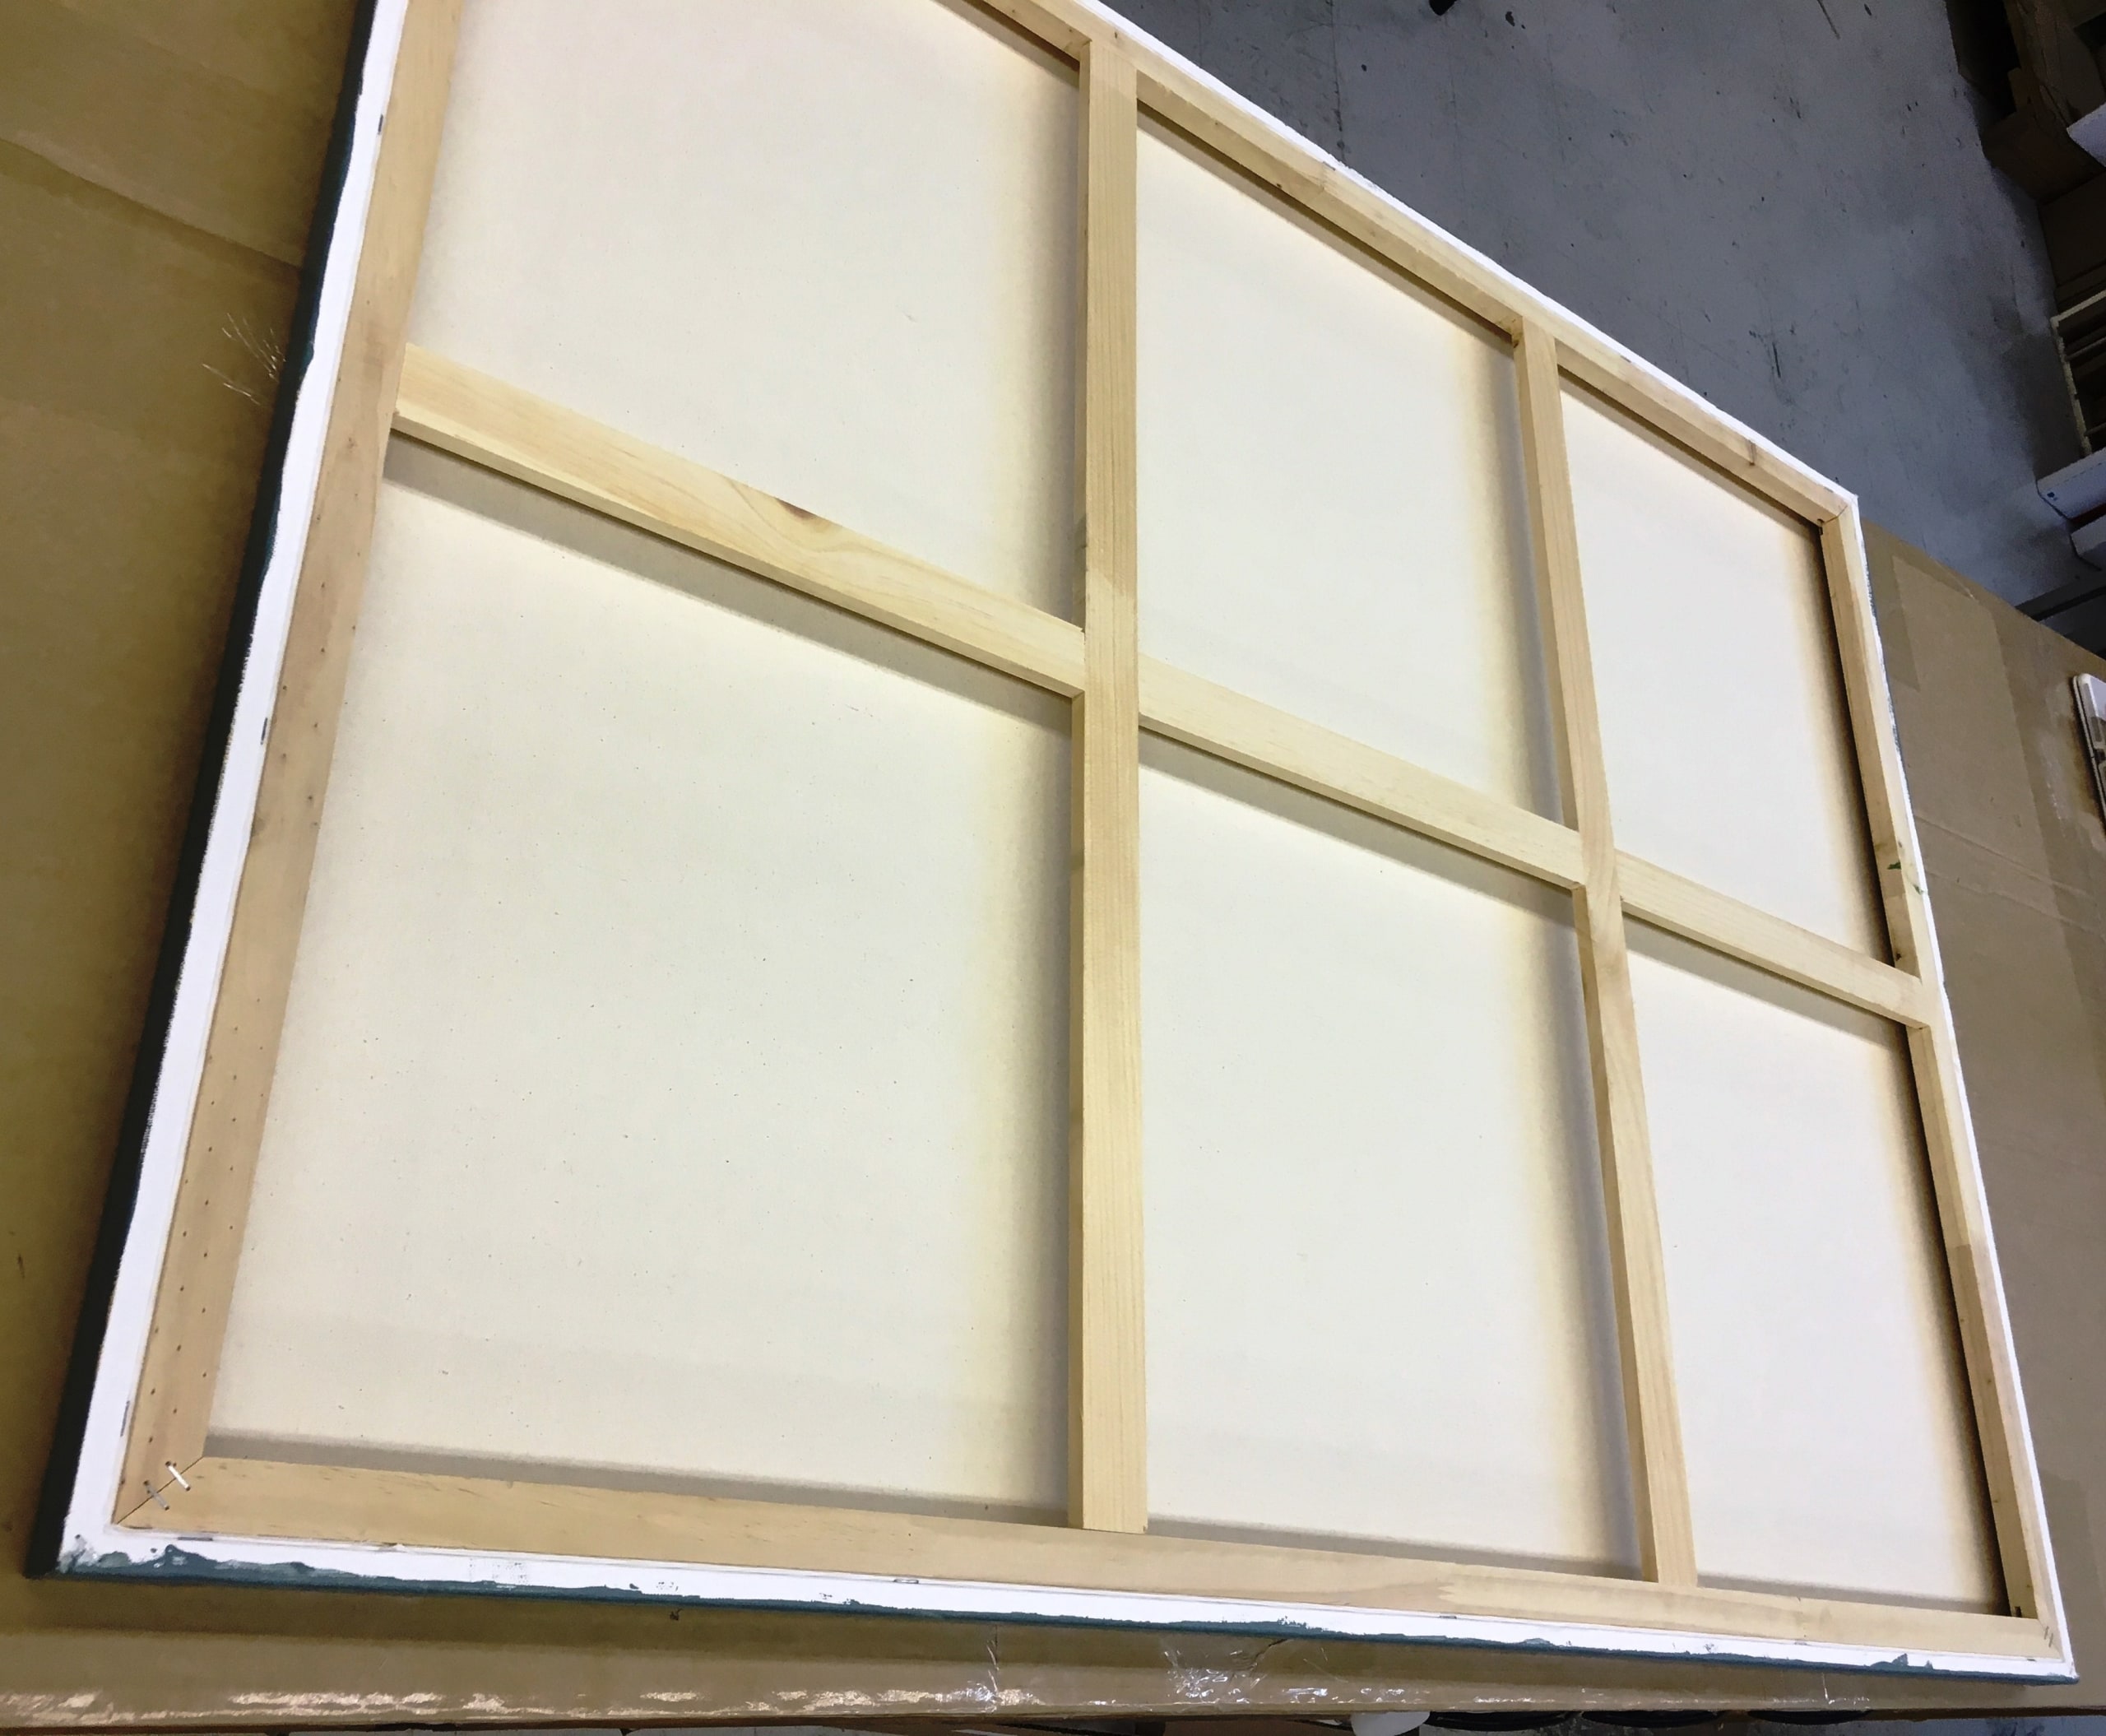
STEP 2 – Position the floater frame. Place the floater frame face down over the canvas. The back side of the stretcher frame and the back side of the floater frame should be visible, and the floater frame should be resting on the stretcher frame.

STEP 3 – Center the canvas. From this position, measure and adjust the visible portion of the stretcher frame until all sides are equal by adjusting the placement of the floater frame over the canvas.
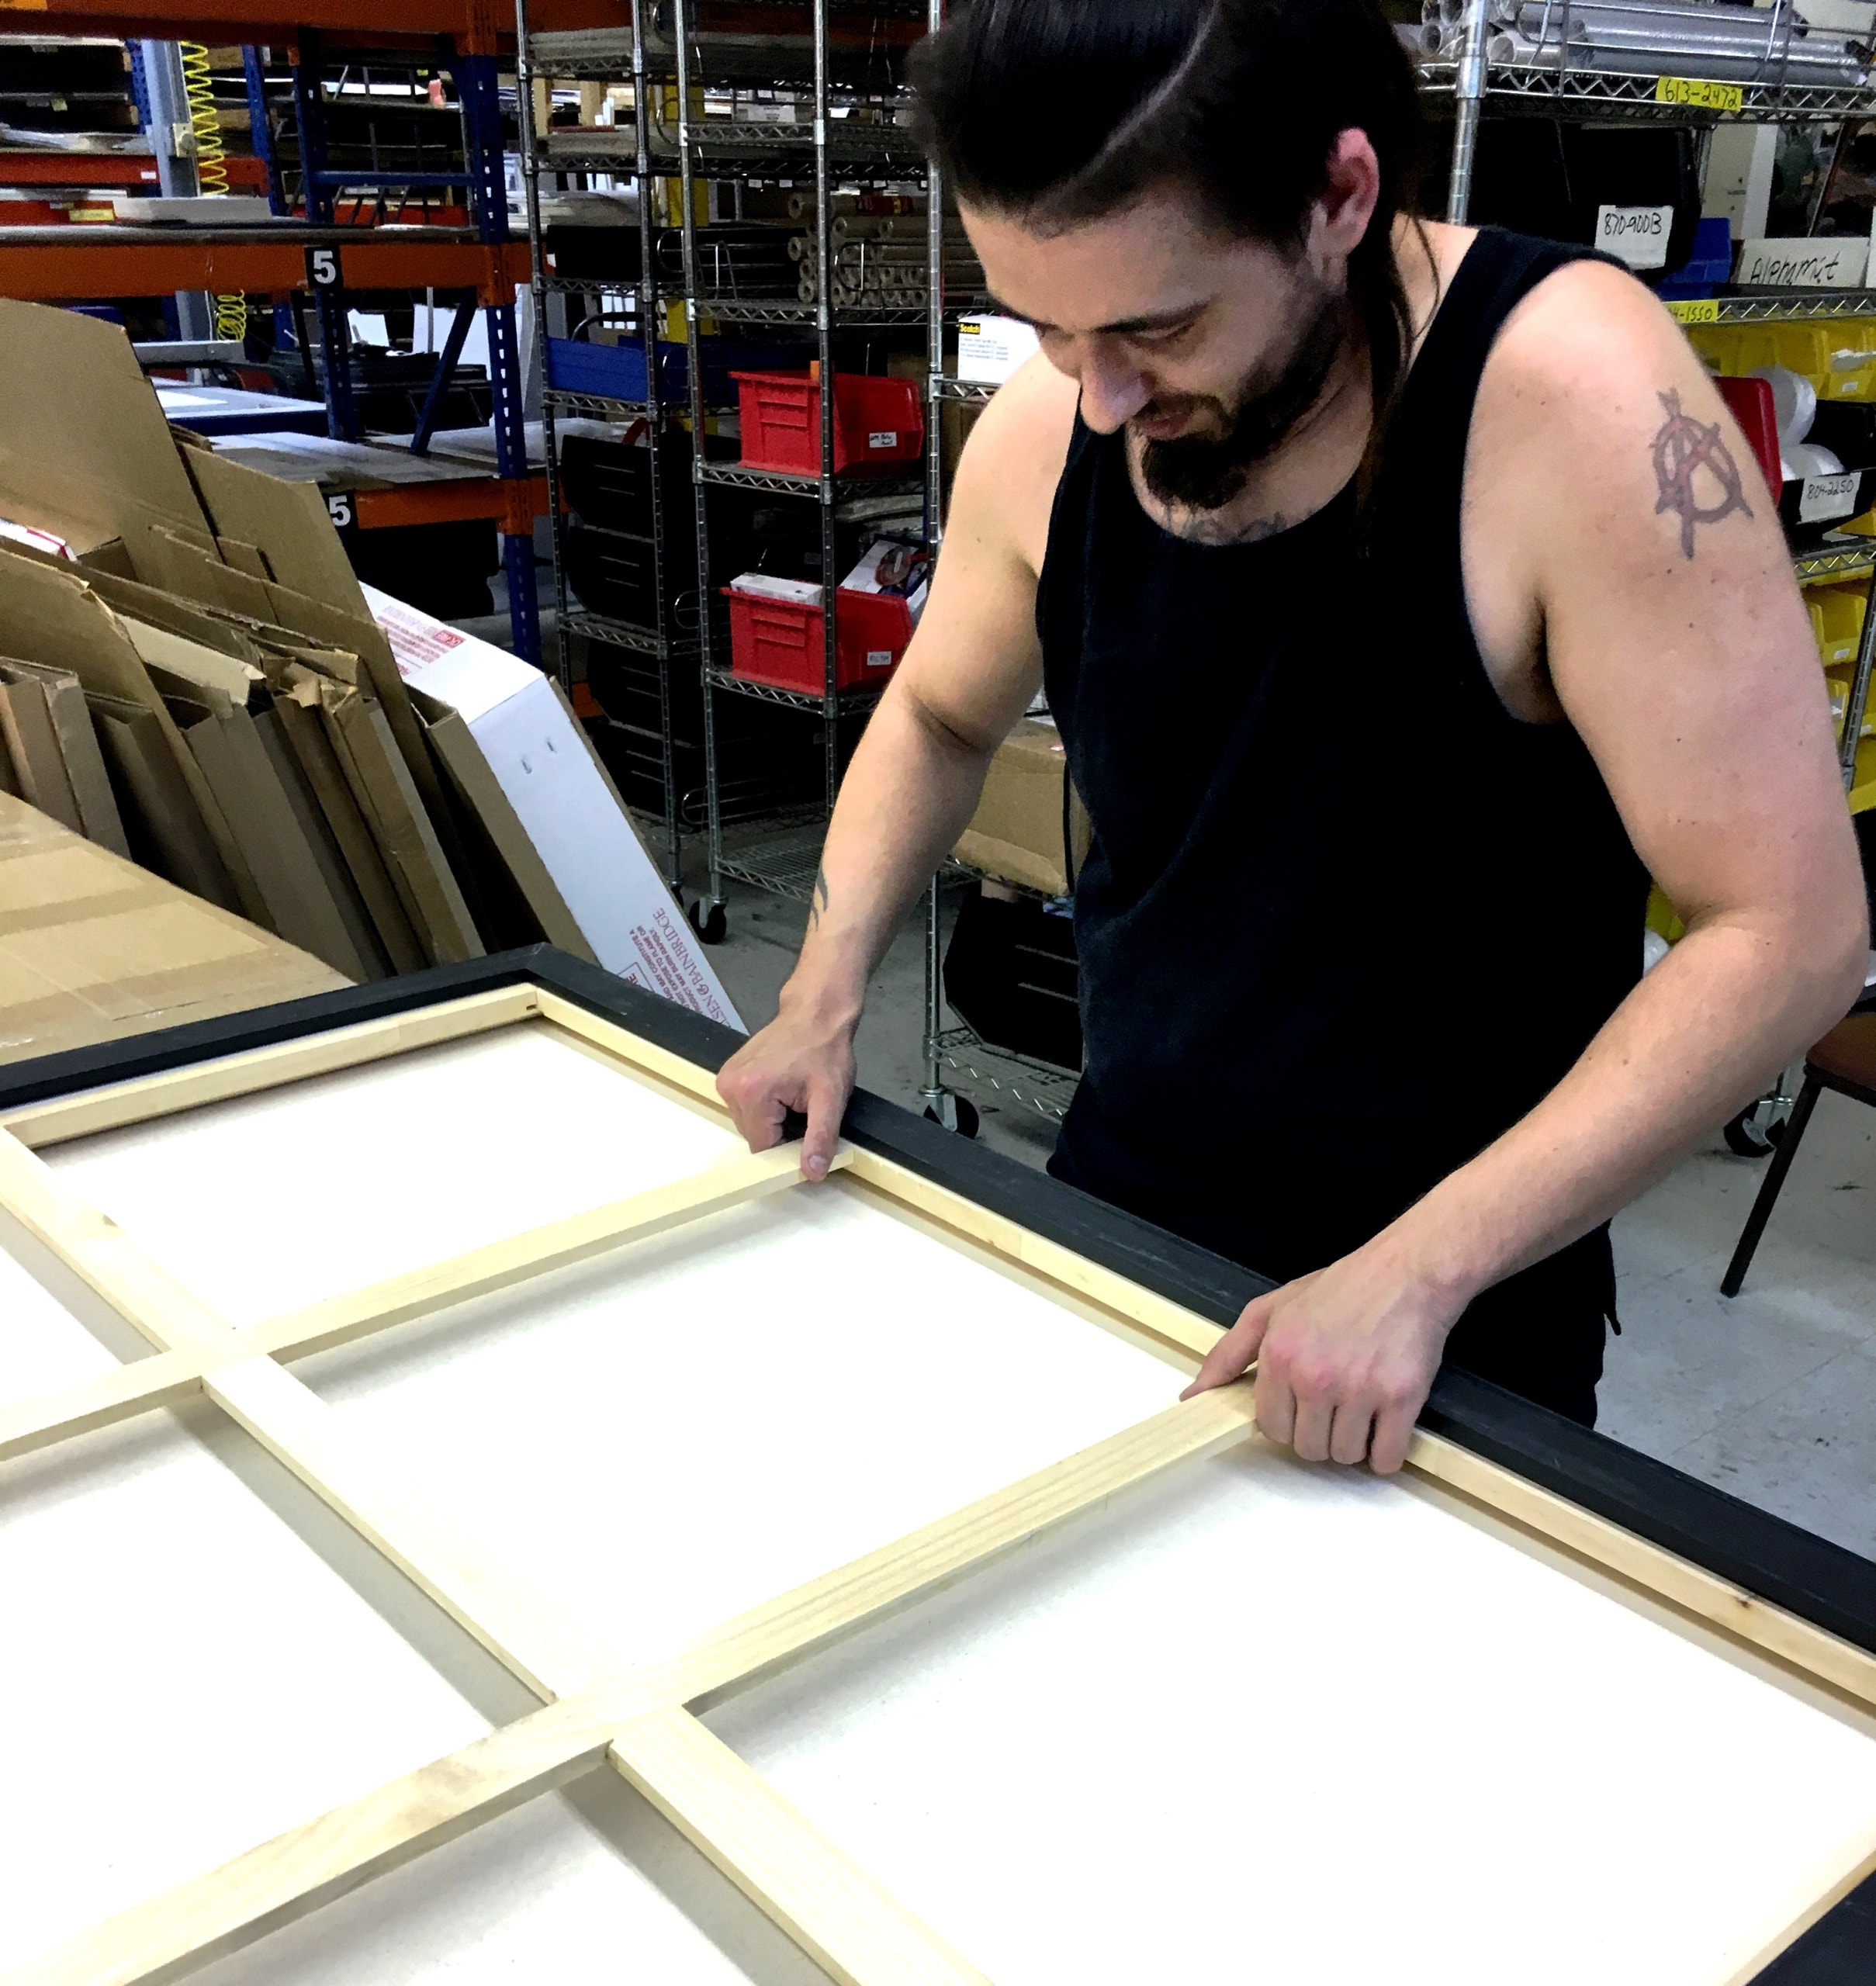
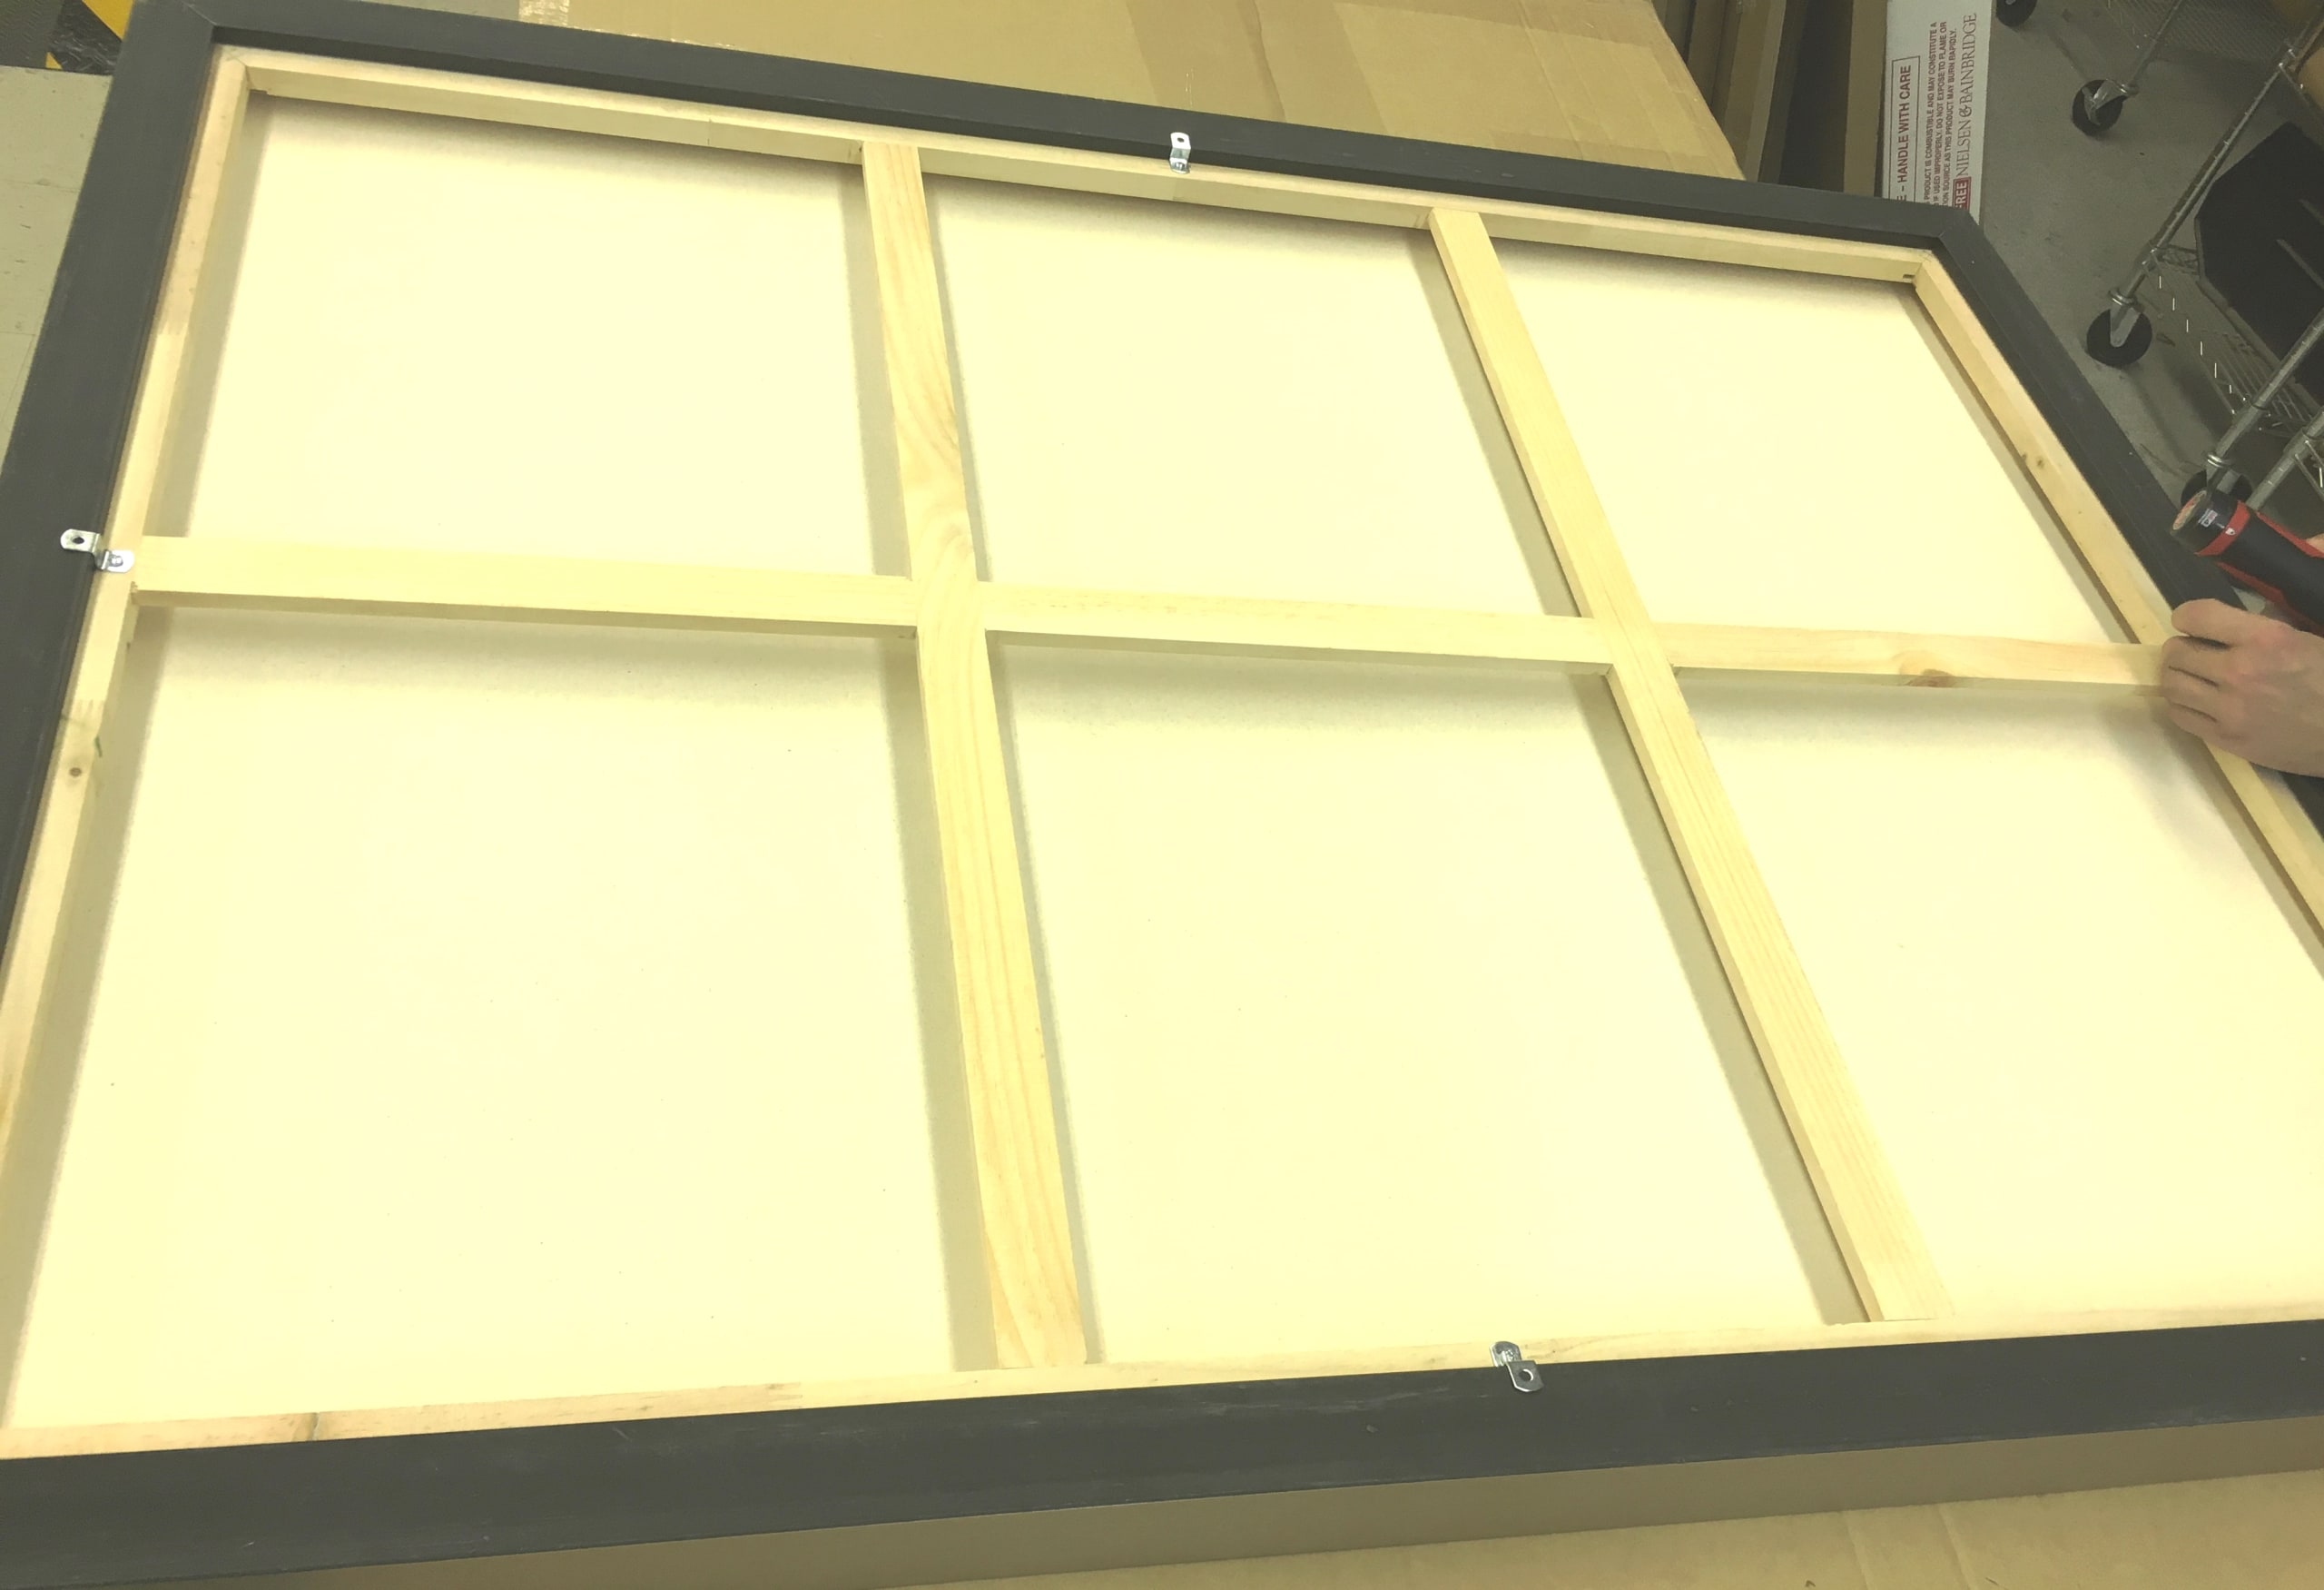
STEP 4 – Set top and bottom offset clips. *Do not screw into the floater frame.* Place the frame in a vertical orientation. Position an offset clip on the bottom center of the floater frame with the screw-hole against the stretcher frame. Use a Phillips screwdriver to drive the screw into the stretcher frame, NOT the floater frame. Position a second offset clip on the top center of the floater frame and screw it into the stretcher frame.
STEP 5 – Check the vertical and horizontal position of the canvas. Turn the assembly package over and verify that the canvas is still centered vertically. If not, move the clips as needed. Adjust the canvas so that it is centered horizontally.
STEP 6 – Set left and right offset clips. Place the assembly package face down again. The frame in today’s example is larger than 20” x 24”, so we will be using 12 clips. (If your frame is 20” x 24” or smaller check out this clip placement diagram.) As you add the left and right clips verify the canvas is still centered.
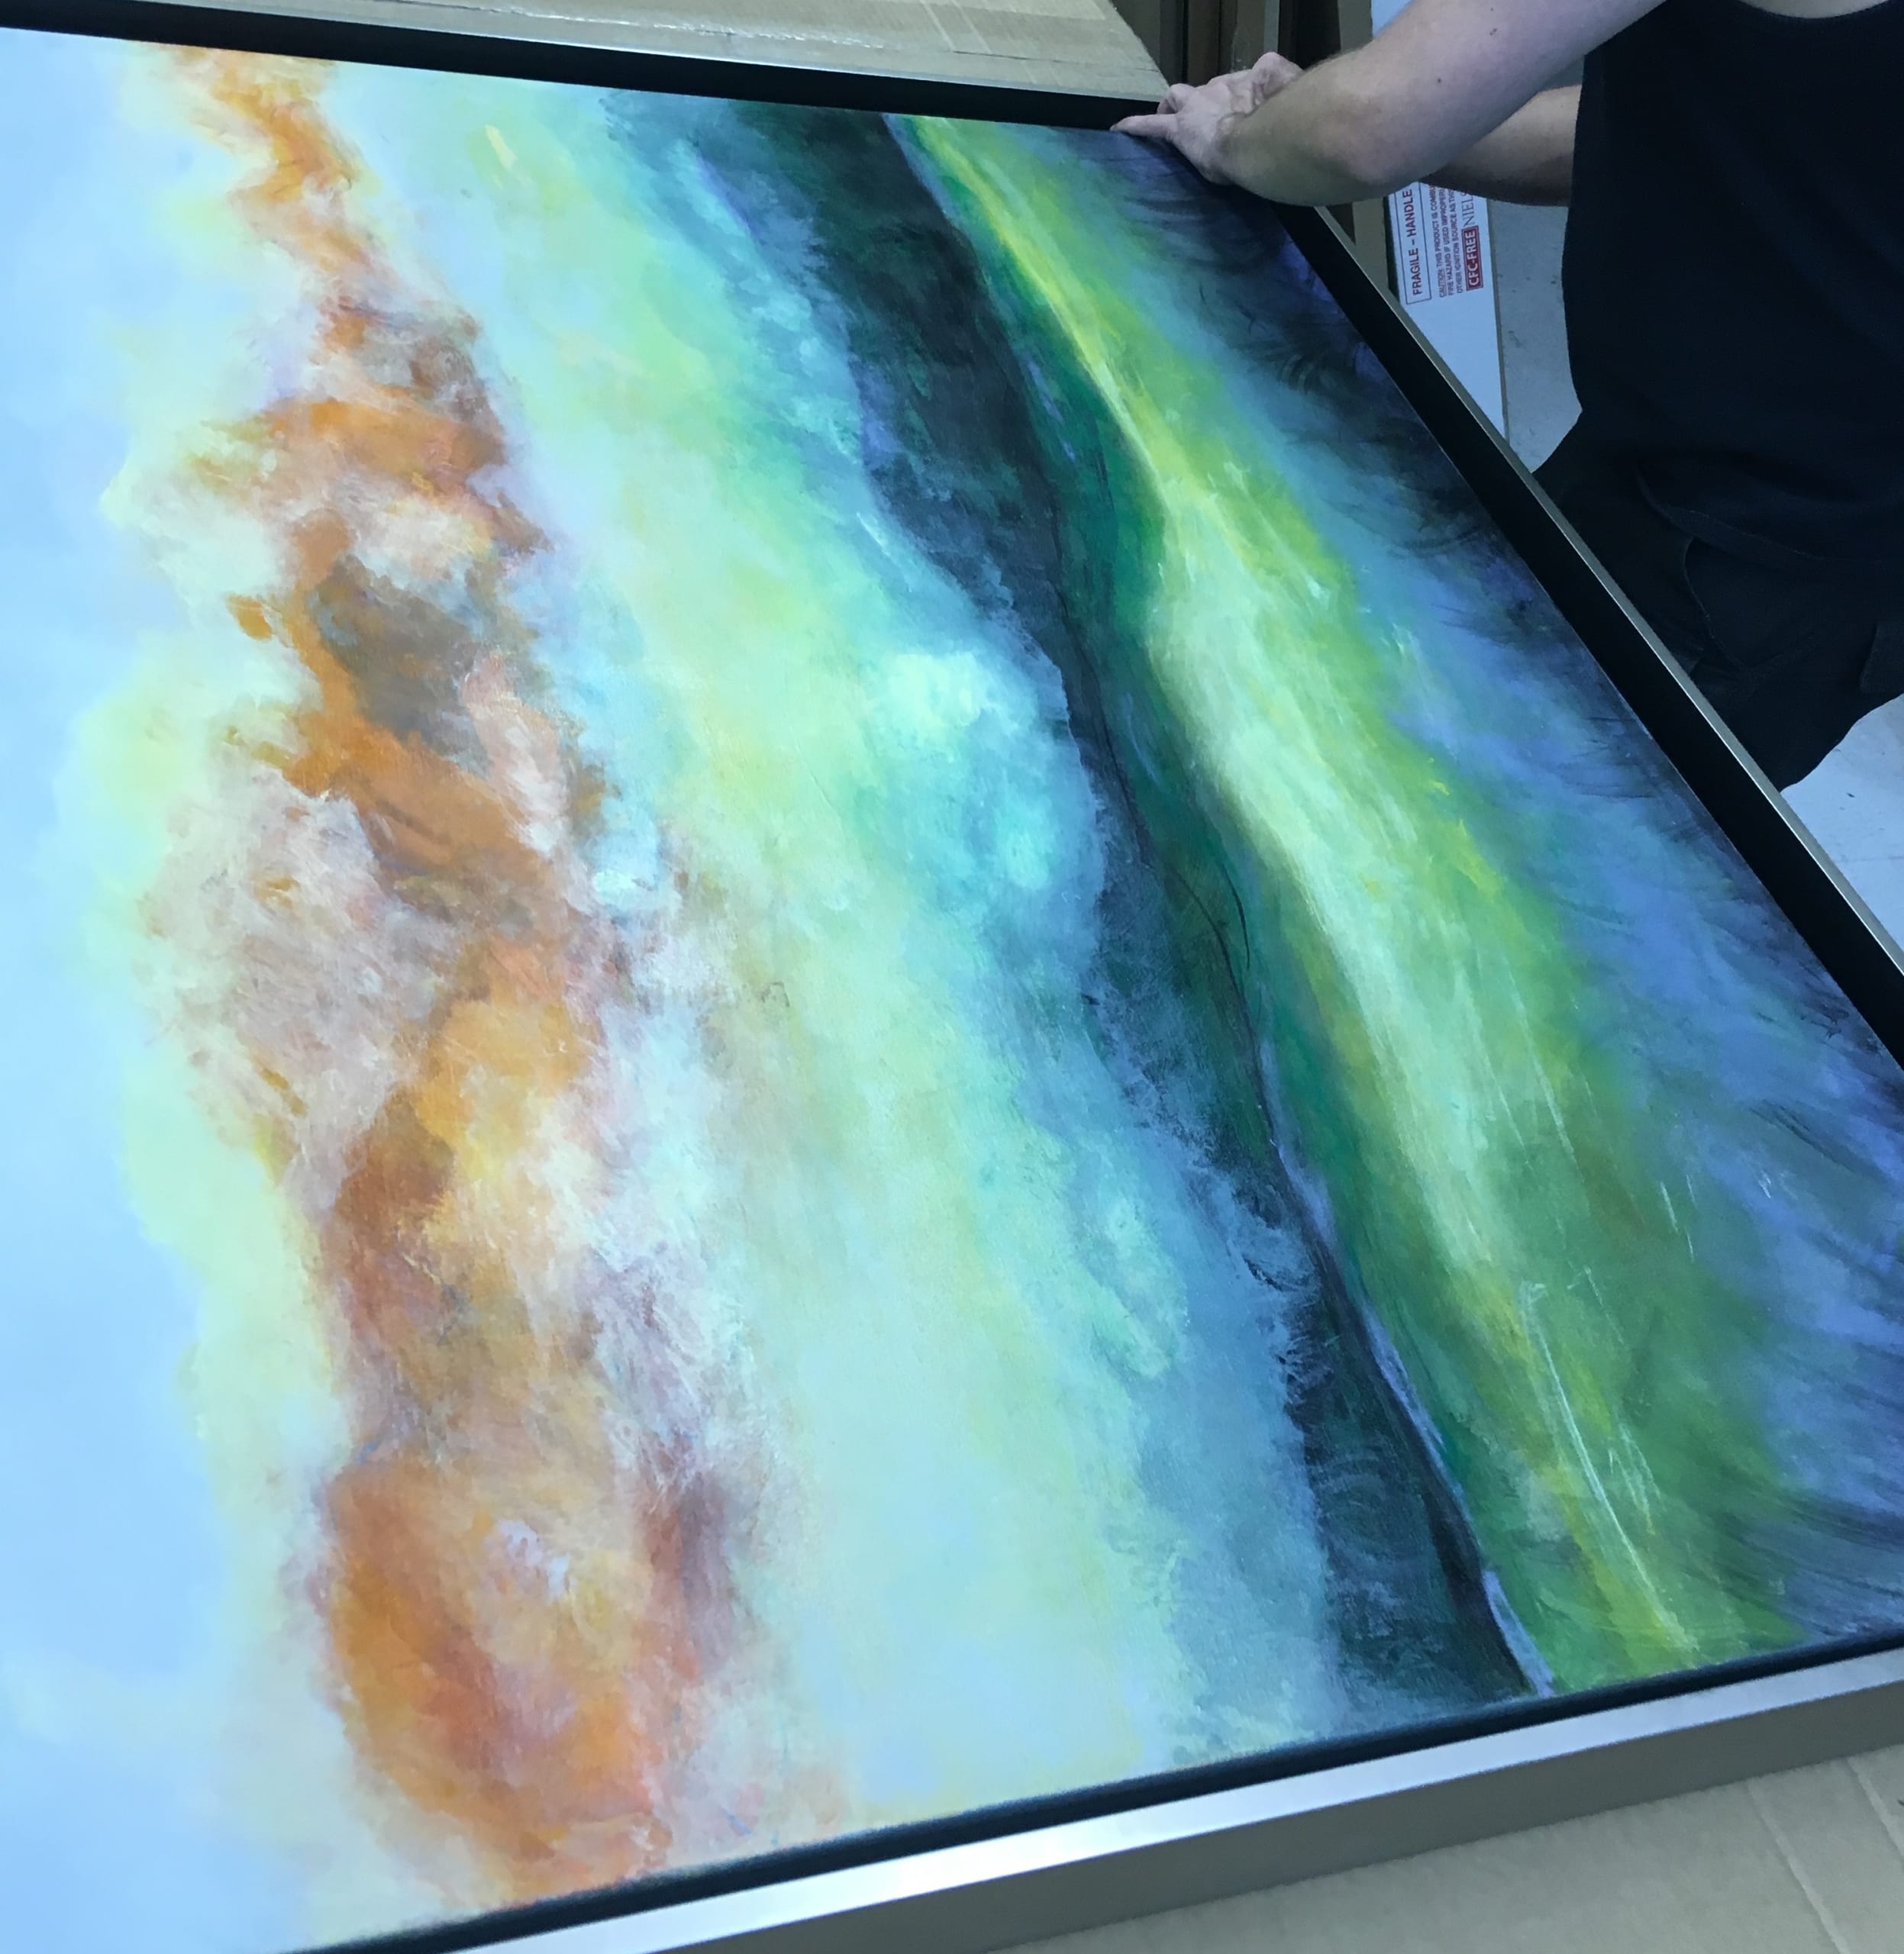
STEP 7 – Final position check. Turn the assembly package over and do a final verification that the canvas is centered properly. With 4 clips installed you should still be able to rotate the canvas slightly. Make sure the empty space between canvas and inner edge of the floater frame is even all the way around.
STEP 8 – Set remaining offset clips. Place the remaining clips near the top and bottom corners on all four sides of the frame.
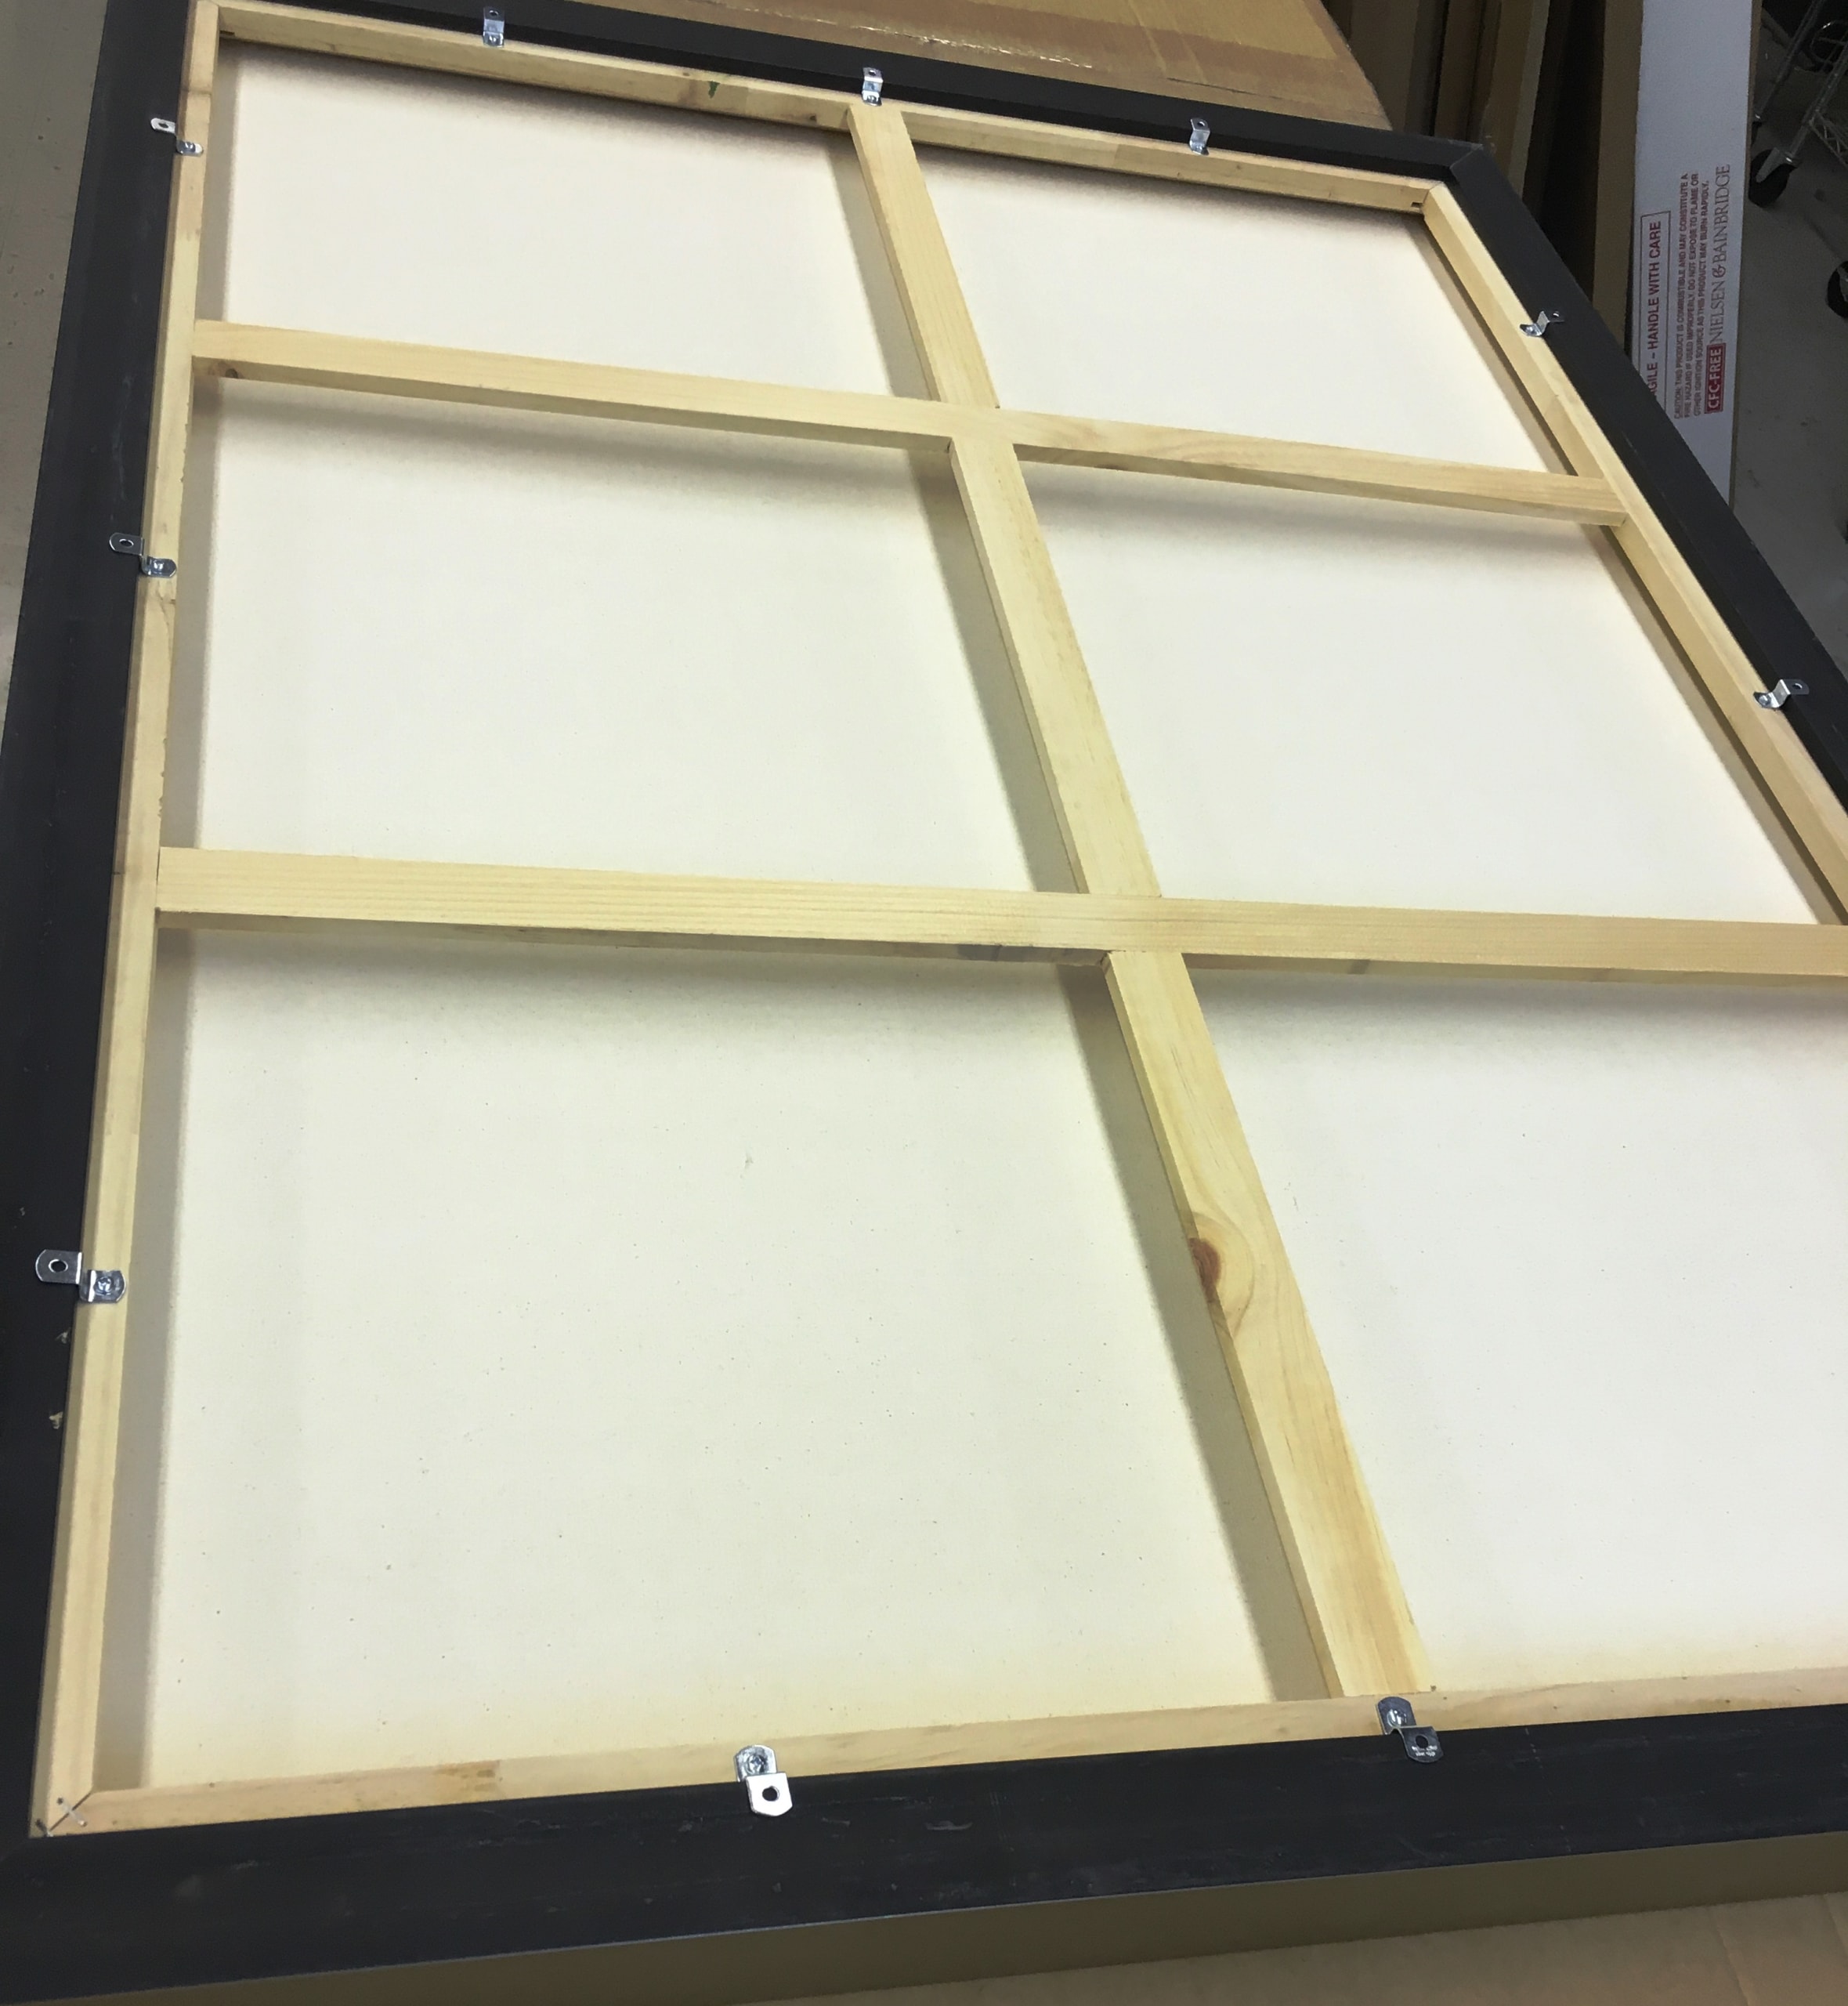
STEP 9 – Prepare for hanging. Screw the hangers into the back of the stretcher frame. Attach the hanging wire to the hangers and tie off. Place a wall bumper protector on each lower corner of the floater frame.
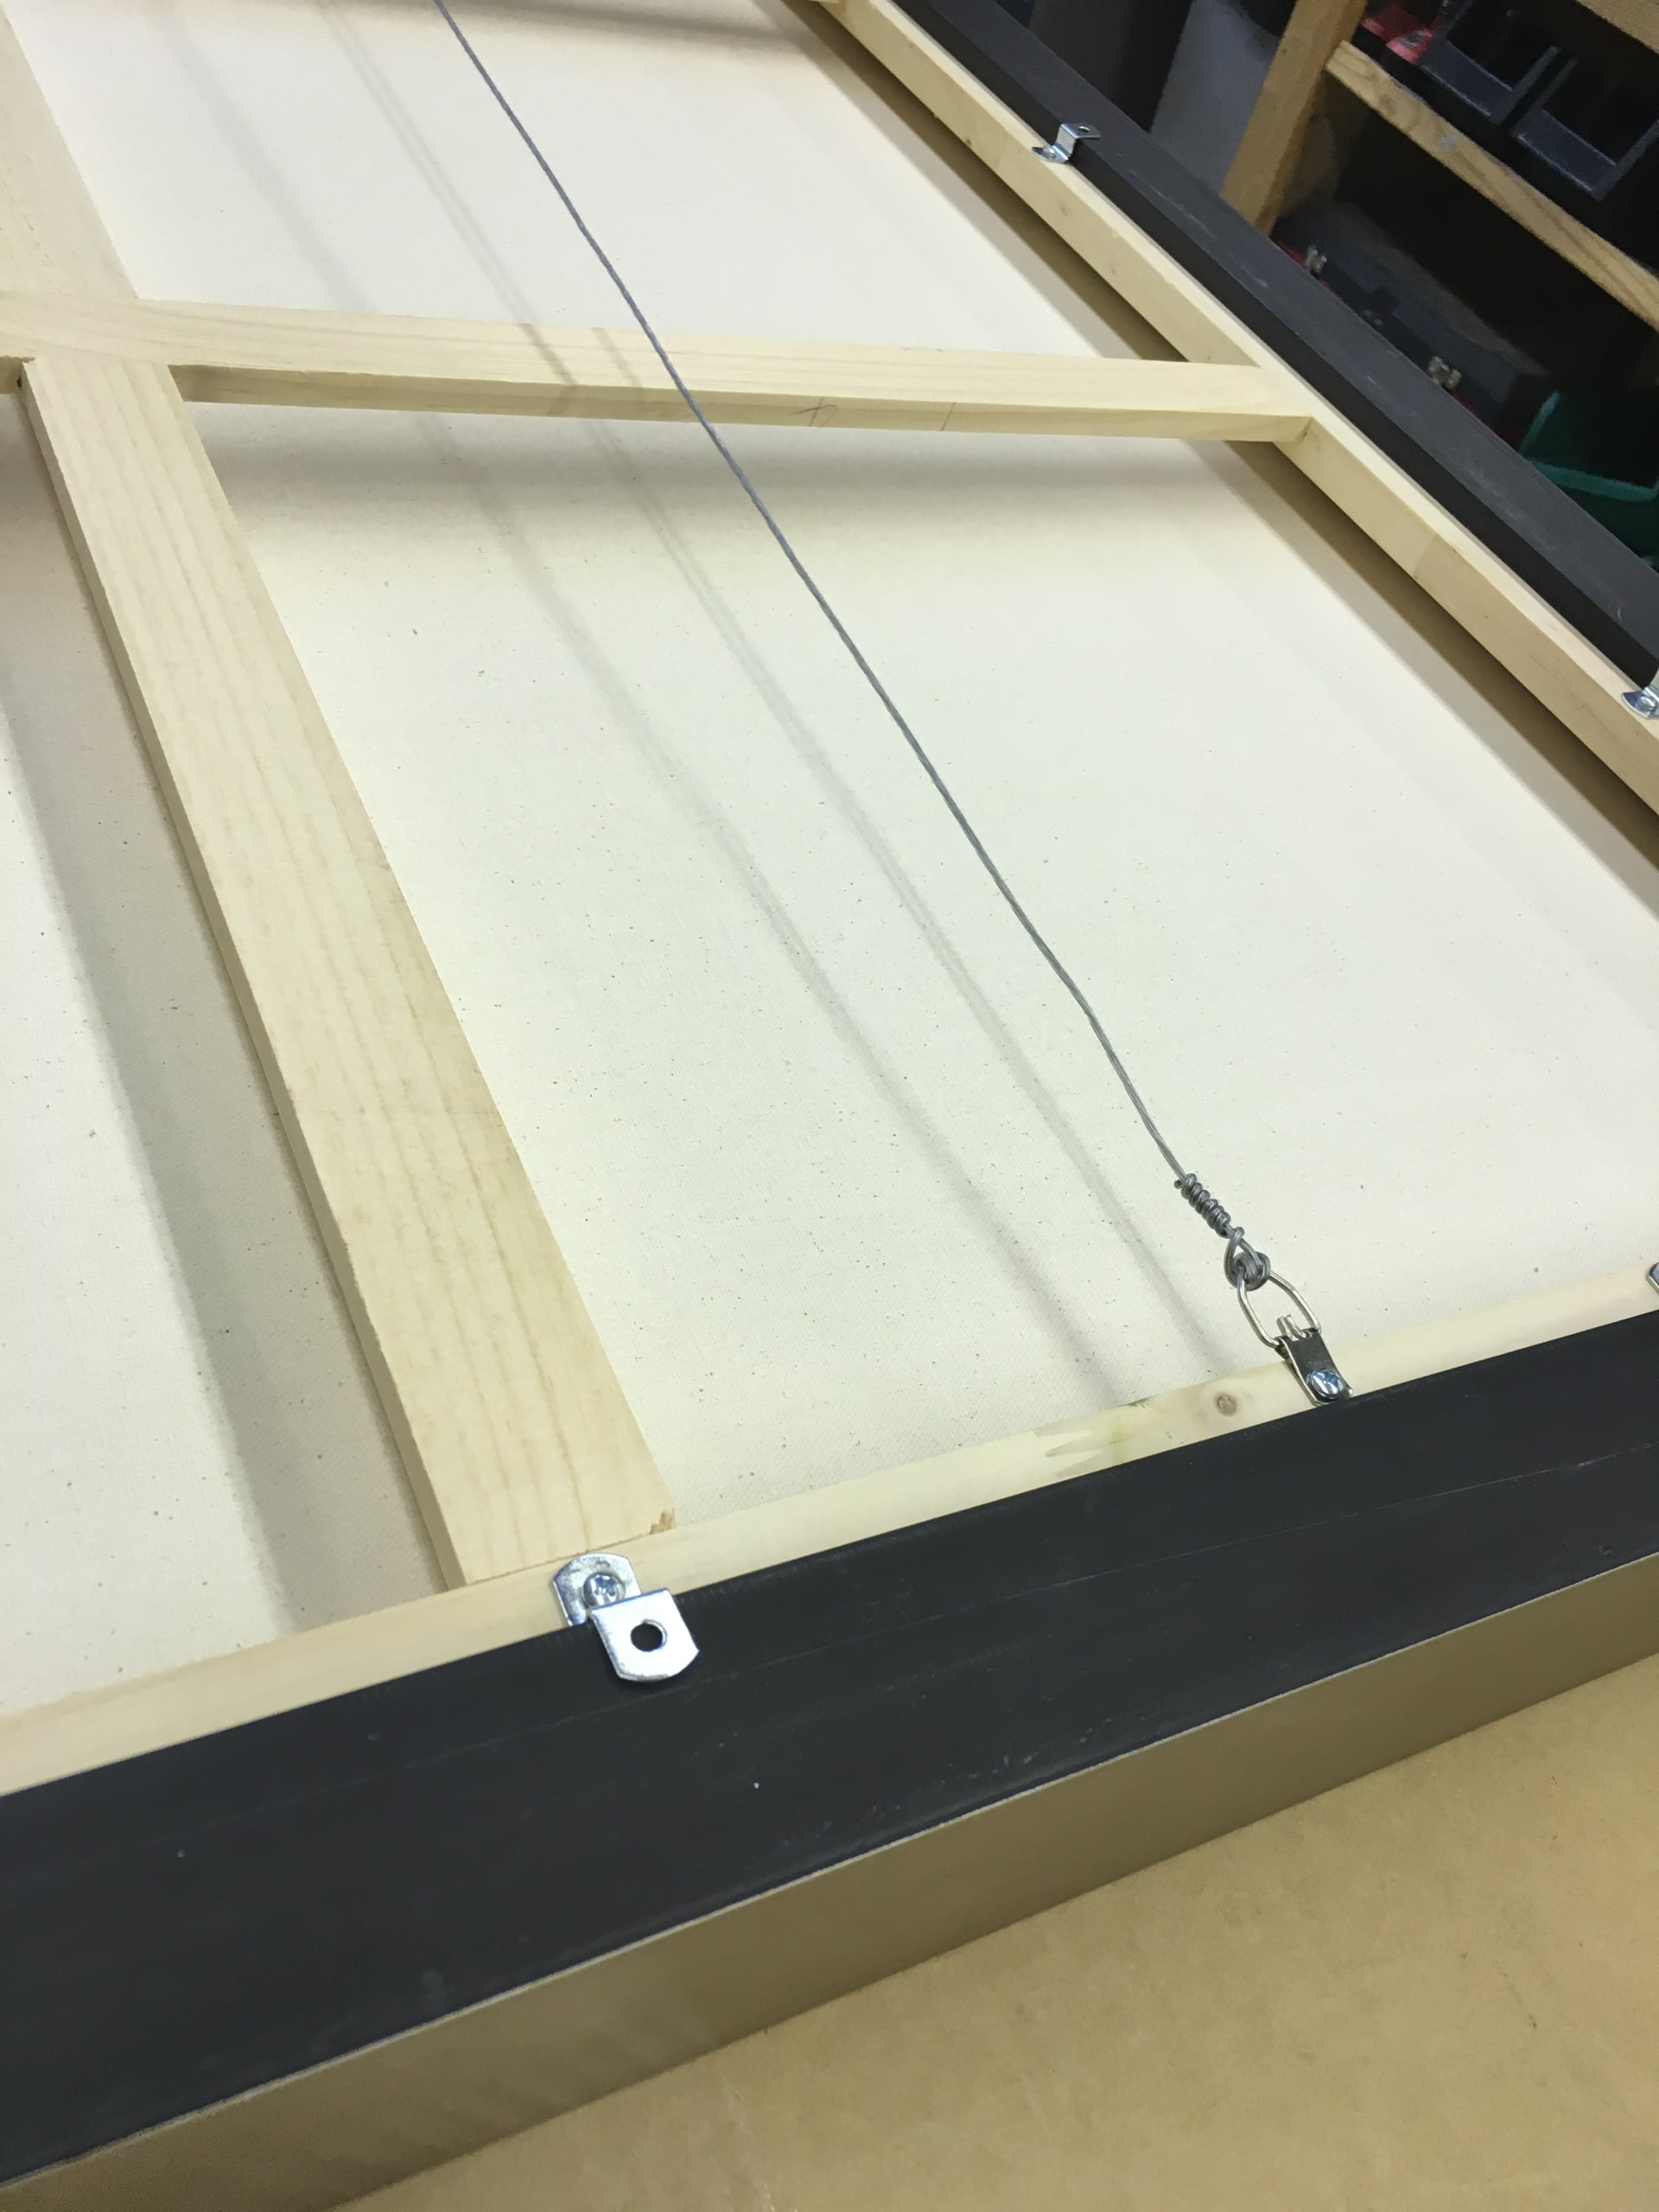
STEP 10 – Display. Hang your beautifully floated canvas art! As you can see, the canvas appears to float within the frame. The wood canvas floater frame used in today’s example is our F140 in Warm Silver. (Artwork by Joely C. Rogers)
